Saturday, March 31, 2012

Story. Bathroom Fiasco. Part 3.

So when I left you last, we were in demoville.
Which later turned into this....
Then finally this....
This is where we sat for one....two.....three.....four.....five.....six weeks.  Um, yes, I said six.  Ouch.  I think it was at this point that I had this conversation with my 4-year old:

Dek:  Mami...when is my birthday?
Mami:  Honey, your birthday is only a few weeks away!  I don't even know what you want!  What do you think you want for your birthday?
Dek:  I'd like a bathub please.

We finally started working on the next phase, which was to replace all the insulation and install the concrete board.  Which takes us here.  Stay tuned! 
FINALLY we're getting somewhere!

Pin It!

Wednesday, March 21, 2012

Story. Bathroom fiasco. Part 2.

So when I left you last, my bathroom looked like this.

The mold kit of course came back bad.  Honestly, I knew we would have a mold problem, which is why I told my husband we needed to tear the rest of the tiles off the top of that funky shelf before we even saw the results of the mold kit.  Which we did.
At this point, we could both see the water spots and we both knew what the next step had to be.  Yep, tearing out the funky shelf (which I always thought was weird, too big, and not necessary).  Once we started tearing out the shelf we found this.
Talk about scary....
Gross black mold...the scary kind.  We didn't need the petrie dish to tell us that this mold was gross and needed to be delt with.  I think the scariest part of all was that for a bit of time, we actually thought about re-tiling over the existing structure.  That still freaks me out.
So since we found this, it had to be dealt with immediately.  So, we start ripping out the funky shelf - all the way down to the two-by-fours and the subflooring.  DEMO TIME!!

Stay tuned for what we did next!
Pin It!

Saturday, March 17, 2012

Story. Bathroom fiasco. Part 1.

Sometimes, when one person is missing, the whole world seems depopulated. ~Lamartine

Ok....so that might be a bit dramatic.  But didn't you miss me just a little bit??!!  Yes, I've been gone for awhile and I apologize.  2012 is my year to really get regular about posting!  But we all know how resolutions come out :-(....I will try my hardest. 

So this new year brings me into a new fiasco - the kid's bathroom.  The kids have all these *fun* (NOT) toys that stick to our bathroom tub tile surround and it was a bout a month ago that my husband decided to pop one of those suckers off and put it away.  Well, lo and behold - a few bathroom tiles came down with it!!  So awhile after that, I finally get around to addressing the problem and I begin by scraping the remains of what I thought was mortar off the wall.  As I begin trying to chip off this stuff with a chisel and a hammer, more and more tiles start dropping off.  Lovely. 
That's when I realize this stuff isn't mortar, but rather adhesive, so its probably not going to come off easy.  I ended up removing all the tiles in that row to replace since most of them were off anyhow.  Last weekend I go to Home Depot with my cell phone photos, tape measure, and my money.  After about 45 minutes, and $152 later, I think I have everything I need to complete this project.  
The most import thing being my do-it-yourself mold kit.  I was told before starting ANYTHING I must do this since its possible those tiles have been loose and retaining water for awhile.

The test takes a few days so for the time being my bath sat like this.
Stay tuned in the coming weeks for updates...trust me, you'll want to see!
Pin It!

Tuesday, December 6, 2011

Craft. Christmas Jar lanterns.

Need a great gift for Teachers?  Neighbors?  Babysitters? 
Found this on one of my favorite blogs and loved how they turned out!!
You will need:
tissue paper, torn into 1 inch strips
Modge Podge
ribbon
die-cuts (or hand drawn pics for front of jar)

Now don't ask me why I didn't photograph my steps knowing FULL WELL that I was going to blog about it.  I honestly don't know what got into me.  I think I was having so much fun doing this that I forgot all about photographs!!!  So I will show you the photos I could find.
First, you will Modge Podge the strips of tissue to the jar.  I put my hand in the jar and starting the strip of tissue at the bottom, Modge'd it up to the top of the jar.  The top is nearly impossible to do with that same strip (it ends up tearing from all the Modge Podge) so we'll worry about that later - just come as close at you can to the top and don't worry about any tears or holes around the top for now. 
While this is drying, you can work on your die-cuts.  I used my Cricut Expression - Christmas Cheer cartridge to cut out these images.  However, you can freestyle some snowmen and that's cute too - see!
Once you get the die-cuts together, you can Modge Podge them right onto the front of the jar.  Now is when you want to see if there are any spots you missed and to finish the top of the jar.  My tops turned out well and here's what I did.  I took a strip of tissue and wrapped it around the top of the jar horizontally.  That way, it covered the whole top in one swoop!
Tie some ribbon around them, add a tag (I added the candy cane reindeer instead), pop a tealight in that baby and you're ready for gift giving!!  Hint:  If you can find them on sale, the battery operated tealights are really fabulous!!  These actually flicker like flames (I found mine on sale at Hobby Lobby)!!
 Look for another post soon to show what else I filled these treat jars with!
Pin It!

Sunday, December 4, 2011

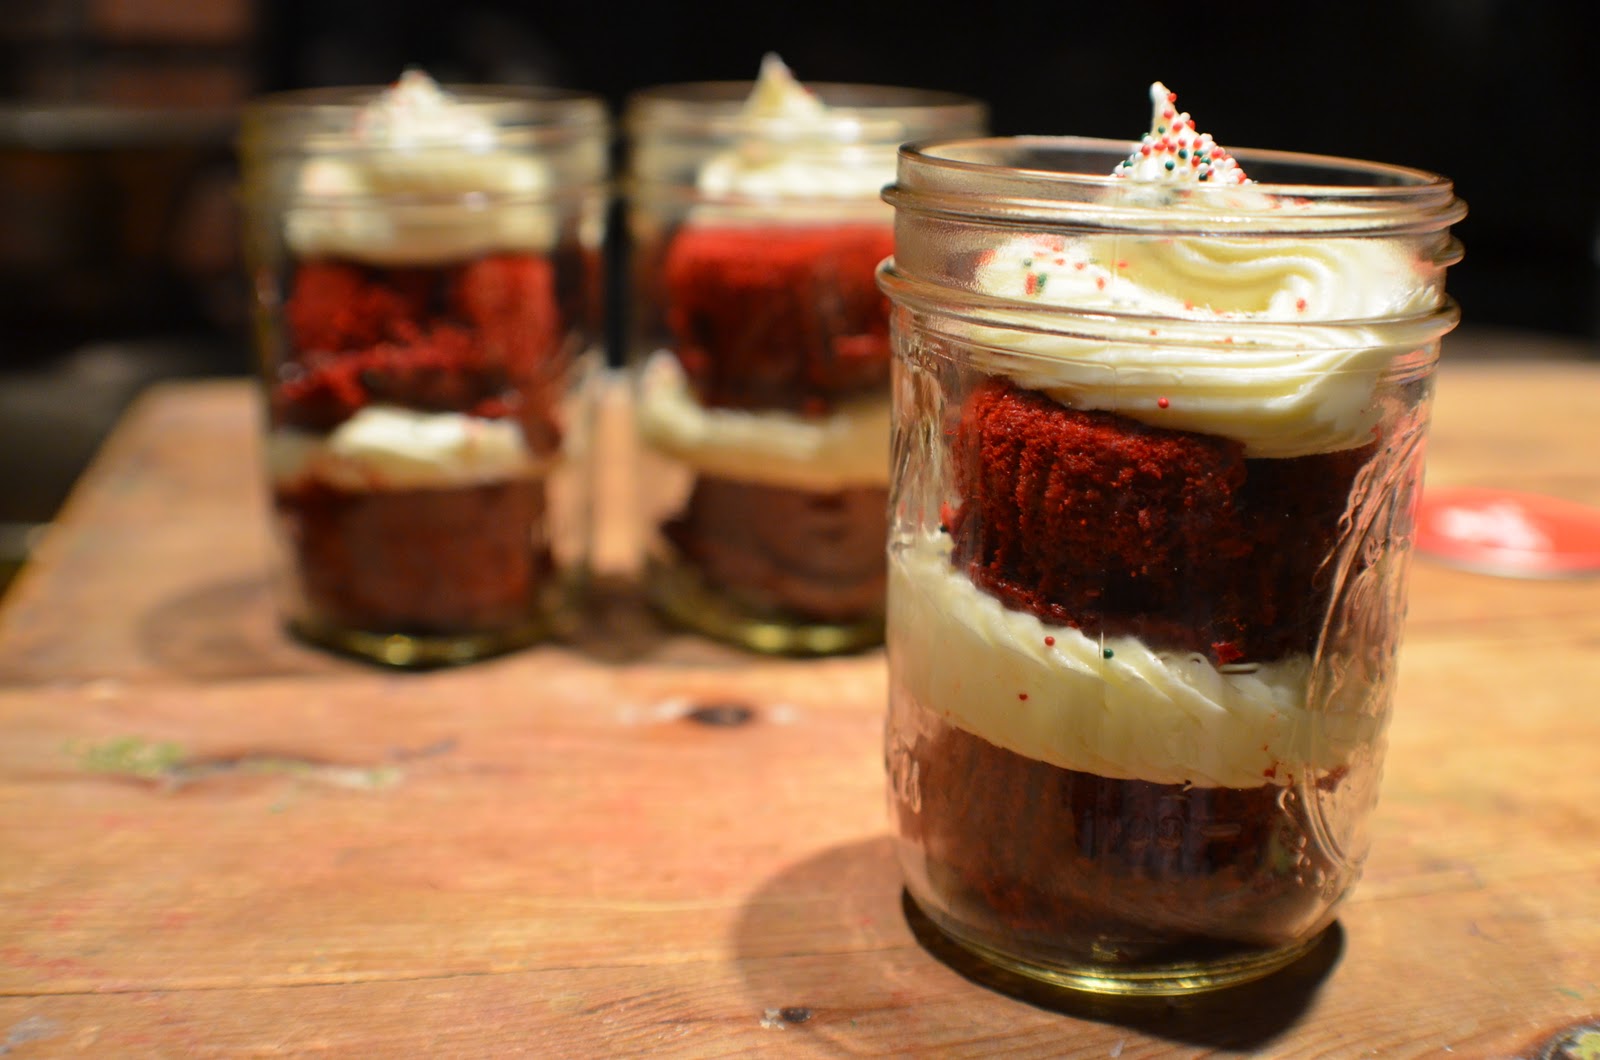
Food Craft. Cupcake in a Jar.

I wanted to make something small and cute for my Church preschool committee gals so this is what I came up with - taken from this great blog!

Although I did make homemade cream cheese icing ...

...I did cheat and use store-bought red velvet cake mix.  Sorry ladies.  I tasted a cupcake though and it was really yummy.  MMMMMmmmmmmm......

I put one whole cupcake in the bottom of the 1/2 pint wide-mouth jar, then a layer of homemade cream cheese icing.  After that, another cupcake (yes, I realize this is more than one cupcake but hey - who's counting!!) then topped with a fancy swirl of icing with sprinkles.


For the lid, I punched a circle from red card-stock using my 3" circle punch.  Then used my Cricut Expression to cut the letters for the lid (1/4", Cricut Classic Font), and a few brads to jazz up the word. 

I Modge Podge'd the circle to the lid - tied on the plastic spoons with Christmas ribbon...
...and Voila!  A cute single-serve Cupcake in a Jar!  Hope they like it!!


I know I liked it!  Hee hee.
Pin It!

Saturday, December 3, 2011

Story. Christmas Tree Farm.


Never worry about the size of your Christmas tree.  In the eyes of children, they are all 30 feet tall.  ~Larry Wilde, The Merry Book of Christmas


It's become an annual tradition that we cut down our own Christmas tree every year from a local tree farm.  I did this as a kid growing up, so we started the same tradition for my family.  It's not always an easy thing to do with two young boys, but we give it our best shot! 


So on Thanksgiving weekend we visted Hensler Tree Farm to get our Christmas tree.  It was a super windy day and the threat of rain was always near, but also unusually balmy for this time of year (close to 60 degrees!).

We rode the wagon out to the fields, walked up and down the isles of many trees, and finally settled on one that Logan spied.  He helped Papi cut it down - sometimes Deklen helped too. 

Then we loaded it unto the cart and headed back to our pickup spot to get it wrapped and measured.

Then it was off to visit Santa, and grab some hot cocoa and some munchies before heading back home.  We look forward to coming back next year!


Our tree in all its glory!

 
Pin It!

Tuesday, November 29, 2011

Story. Deklen's First day of Preschool.

Monday...his first day of school...including Kindergarden, only 17 more years to go.  It was sad for me, knowing he's starting down the path to adulthood.  That first day of school represents a loss of innocence, moving from "my baby" to "my boy".  When he returned home that day, his first words were "Mami, I thought about you guys today."  Awwwww....
Pin It!

Thursday, November 24, 2011

Story. Our Elf on the Shelf Bob.

There is a garden in every childhood, an enchanted place where colors are brighter, the air softer, and the morning more fragrant than ever again. ~Elizabeth Lawrence


Every Thanksgiving since Logan was 3 we've had our Shelf Elf appear from the North Pole. Story goes that Bob (what Logan lovingly named him many years ago) comes from the North Pole to watch the kids every day until Christmas.  Every night he goes back to the North Pole through magic, and reports on how the kids behaved that day to Santa.  The next day you will find him somewhere else in your house - once he's returned from the North Pole.  On Christmas Eve, Santa will take him back to the North Pole once he's dropped our presents under the tree. 

The kids love trying to find where Bob is every morning!  Last year there were a few mornings where Bob was in the same spot (*GASP*) that he was in the night before.  When Logan and Deklen notified me of this, I calmly explained that Bob most certainly did go to the North Pole, however he must have liked that spot so much he came back to it again.  When he was in the same spot for a week straight (**DOUBLE GASP**) Logan said "Oh my gosh Mom!!!  He must REALLY like that spot!!!  Its been like 7 days!!".  Needless to say, Bob came back to a different spot in the house on day number eight ;-).


Pin It!