Sunday, May 13, 2012

Craft. Vintage Glass Recycle by Mom. Happy Mother's Day.

My Mom....what can I say...she's beautiful AND crafty!!
She made these beautiful Art Glass Garden decorations for family this Christmas. 
I wonder where my need for crafting comes from?  HA!
She scoured Goodwill and garage sales for old or interesting glass, used her trusty E6000 (that stuff is amazing) and start assembling.  She said the hardest part was finding the right glass for the bottom - that's what is going to go on the pole in the ground.  She ended up using vases!
But of course, she added a special touch to our gifts - the teardrops at the top of our gifts were from a chandelier in a house that we grew up in.  Gotta love those special touches!
My Art Glass sit proudly in my garden.  Thanks Mom!!  Love you tons XOXO.
Happy Mother's Day to all you Mother's out there!

Linking up to

Pin It!

Monday, May 7, 2012

Seen & Heard. Martha Stewart Lists. Cleaning, Organizing, etc.

Cleaning your house while your kids are still growing is like shoveling the walk before it stops snowing. ~Phyllis Diller, Phyllis Diller's Housekeeping Hints, 1966
That's how I've always approached cleaning with two small boys in the house.  Yes, this is clean.
However, there are the occasional days where the miraculous three happen: 
  1. I have time to clean
  2. I want to clean
  3. I have the energy to clean. 
Those are the days where I get on a roll and then there's no stopping me!  Granted, those days are FEW and FAR between, but they do exist - I promise!

There are some cleaning things that I do everyday no matter what, and those are based on the Martha Stewart "Six Things To Do Every Day " cleaning list that I found some time ago.  They are:
  1. Make the Bed.
  2. Manage Clutter.
  3. Sort the Mail.
  4. Clean as you Cook.
  5. Wipe up Spills while they're Fresh.
  6. Sweep the Kitchen Floor.
These lists are fabulous and a great place to start if you need some organization (like I do!).  There are weekly and monthly cleaning checklists, as well as seasonal cleaning checklists.

Martha has more lists that you may find helpful.  She has Celebrations checklists (which cover parties) as well as Holiday checklists (which are for Holiday entertaining).  There are also Moving checklists and another one of my favorite the Home keeping checklists, which show how to organize a linen closet, and Spring Home Maintenance.  I also like her Stocking Up checklists for cleaning, home essentials and safety.

You can find all those lists and download them in pdf's here.  Check them out and tell me what you think!!

p.s.  I am working on the posts for my son's Bowling Party!  It was a hit!  Stay tuned...
Linking up to...
Debbie Doo's Newbie Party
It's Overflowing linky party
Tip Junkie handmade projects linky party
Printabelle Wonderful Wednesday linky party
Pin It!

Sunday, April 29, 2012

Craft. My Candelier!

We recently purchased a new chandelier for our dining room.
The question was, what do we do with our old one? 
That's easy, make it a Candelier!

You will need:
any old chandelier
glass votive holders
E6000

First things first...remove the guts of your chandelier - all the wiring.   Next, using your E6000 (have I mentioned before how much I LOVE this stuff??!!) glue the glass votive holders in the spot where the light bulbs used to sit - I picked mine up from Hobby Lobby but I found these online.
Then....voila!  You have a new "Candelier"!! 
Apologies for the blurry photo...the shutter was wide open and the wind was blowing!!
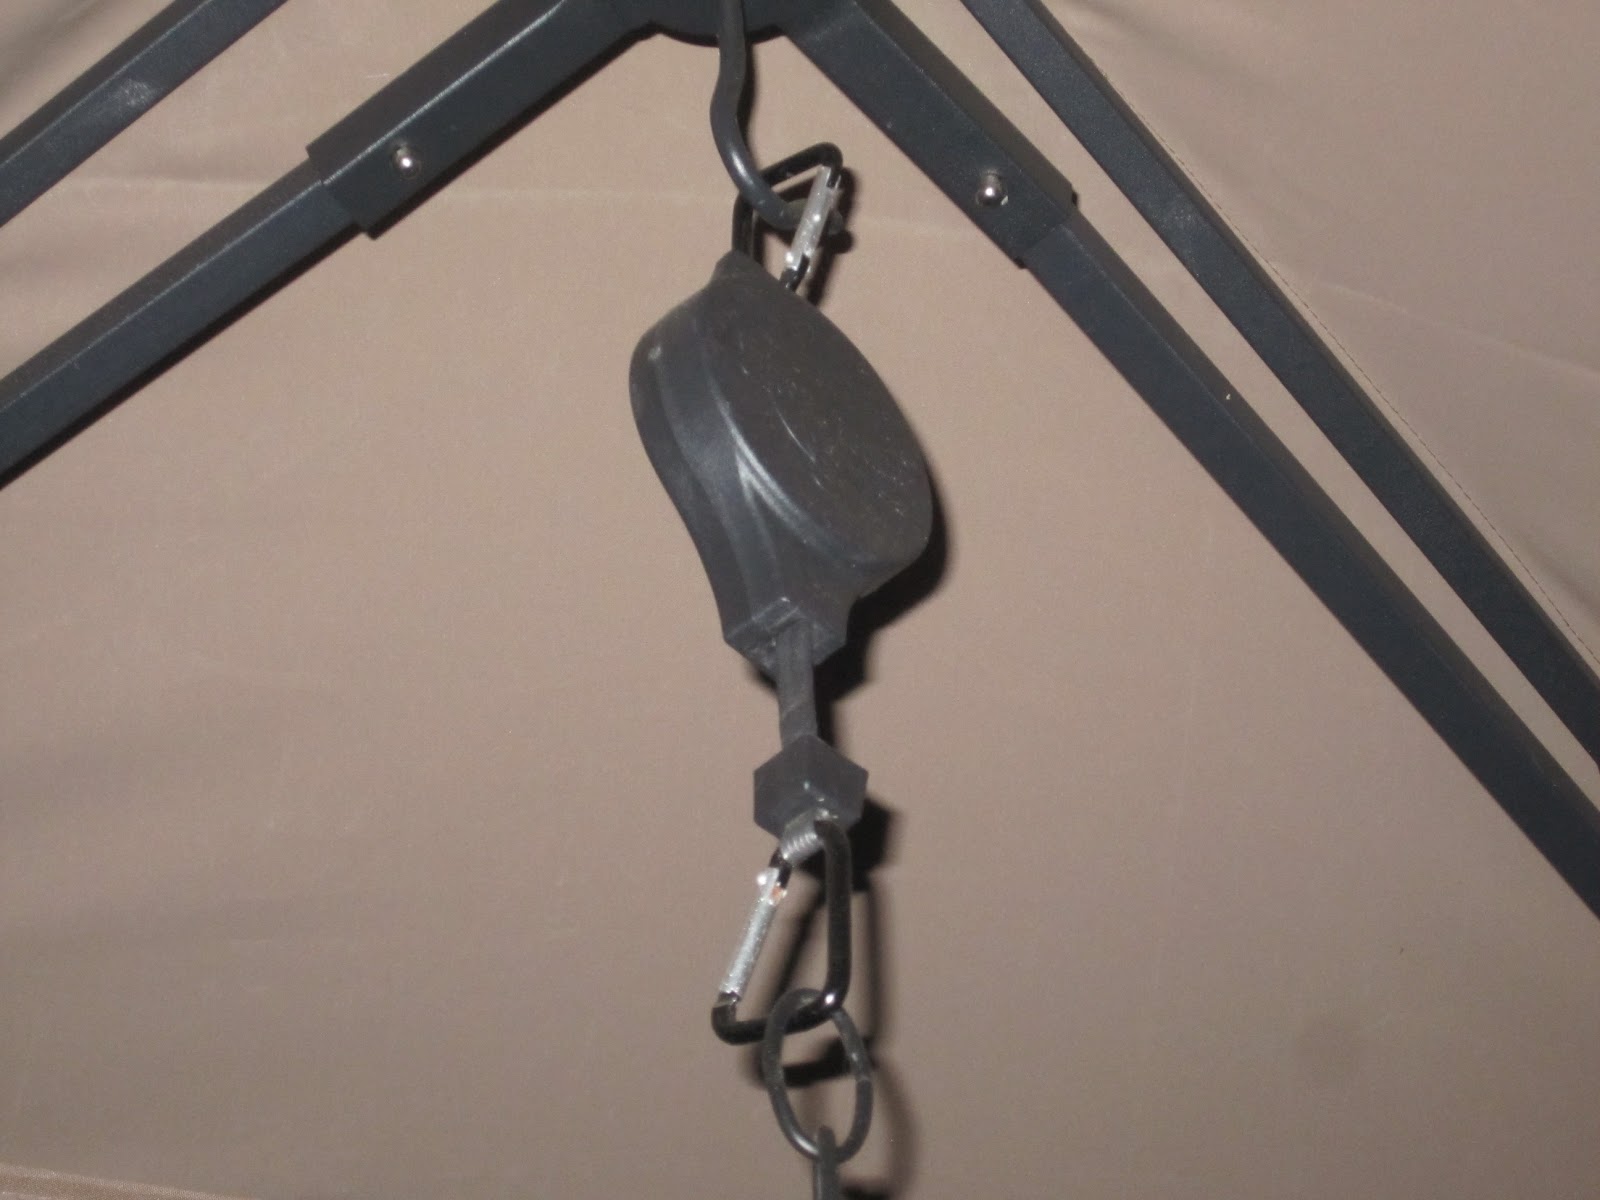
And I have to tell you how much I love these pulley's! 
They are key to getting my candles lit in my candelier!!

Thanks for looking!!

Linking up to
Pin It!

Wednesday, April 25, 2012

Craft. $4 DIY Hurricane Candles.

I've seen many versions of this, but I am partial to this one - hee hee.  This is by far the easiest craft I've whipped up - and it was only $4 at Dollar Tree.  LOVE that!! 
All you need is:
Large cylinder vase
Small cylinder vase (to fit inside)
Taper candle holder
Small rocks
E6000
small votive (not pictured).
Take your E6000 and put a thick line around the top of your candle holder.  Then put the large cylinder vase on top.  While this dried I put my kitchen crock on top - you need good pressure.
Once dry, hold the smaller cylinder vase inside and start filing with the small rocks.  In hindsight, I probably would have put some saran wrap over the top of the smaller vase so the rocks wouldn't end up in there!  They were a real pain to get out! 
Once they are all in, pop in your candle and light her up! 
It's beautiful when all the light comes peeking through the rocks.  What's nice is that when the votive burns down, you can follow these instructions to remove the wax and start all over again!! 
Enjoy!!

Linking up to:
Pin It!

Sunday, April 22, 2012

Decorating. My Outdoor Space.

I love my outdoor space.  No, really - I love it. 
Slowly through the years I've tried to add a few things to give it that Outside Room feel and I'm happy where we are with it now - the all-weather lamps really give it that home-y feel!
Now when it comes to my decorating style, it's more along the lines of primitive mixed with recycled and new.  Not sure that even makes sense, but that's pretty much how we roll!
My dad picked up the vintage glider and two chairs from an antique shop.  I LOVE the way the paint has worn through the years, giving it that primitive look.  I refuse to paint it!!
(oops...nice sand bucket huh?  lol)
Although...I will need to do something about that rust this year....
This love seat glider was another hand-me-down from dad...I think he picked this up somewhere down South.  (Please ignore the sand all over my cushions.  My 5 year old was cleaning out his sand table and decided it would be fun to dump unto my chairs.  NOT.)
Then this glider he rescued for me from someones garbage!!  The bar was broken, but my brother soldered it up and it's good as new!! 
Isn't it amazing what a few cans of black spray paint and new cushions can do for recycled furniture?
This chair is the MOST comfortable chair I have ever sat in - no joke!  I bought this from a garage sale for $15 and I LOVE it.  It's MY seat - and everyone knows it.  Not to mention I had to drag it to my car and I swear that thing weighs 30 pounds - it's solid steel!!
This chandelier goes perfect - another recycled item - from our dining room!  Want one for yourself?  Check out this post on how I did it!
Next to our covered area, we have our chiminea area....this continues to be a work in progress.
Gee...I wonder why...HAHA...
Then of course the boys sand table - which they BOTH still love!
There is still some work to be done, as well as finishing some spring cleaning back there (um...pink sand bucket anyone?).  But I am very excited to have my deck setup in a way that I can entertain and enjoy as well.
Do you have a favorite outdoor space?

Linking up to:
Pin It!

Wednesday, April 18, 2012

I'm joining the Ultimate Blog Party 2012!

While checking out a few of my favorite blogs, I stumbled across the Ultimate Blog Party 2012 and knew I had to get in on this!!  What a great idea by 5 Minutes for Mom!

If you new to my blog, Welcome!!  My name is Christie and I am a new Blogger.  I am a working Mami of two boys -

And a very patient Husband. 
To read more about me and my family, check out my first blog written a mere six months ago!!

Here's hoping you enjoy your stay at 216Grant!
Pin It!

Monday, April 16, 2012

Seen & Heard. Great Camera gadget - The Strap Buddy.

I saw an article on one of my favorite blogs KevinandAmanda that talked about a camera strap Amanda wanted and this sparked a lot of comments about the best camera straps to have.  I must say it got me curious - I really can't stand my stock Nikon camera strap!  So at my local camera shop I picked this up and I must say so far I love it!! 


Do you have a favorite camera strap?
Pin It!

Tuesday, April 10, 2012

Craft. Gumball Machine!

How cute is this??!!  I saw this on my new *favorite* website AndersRuff and just HAD to make one for my own!!


Here's what you need - I picked it all up from Michaels:

1) 10" clay pot
2) matching clay saucer
3) wooden "doll head"
4) spray paint
5) large glass fish bowl
6) hot glue

It was a beautiful day outside when I decided to do this - lucky me!  I was so excited to start I almost forgot to take pictures!  Hee hee.  I painted at least 2 coats on the clay and the doll head.  Once dry, I glued the doll head to the saucer and assembled - easy peasy!! 
Because I did not glue the fish bowl to the pot, I added some velcro for stability (I love that stuff!).  I also did not glue the top because I want to be able to add candy ;-)
Now all I need are the gumballs, jawbreakers, smarties - you name it, but it all sounds yummy.

Pin It!