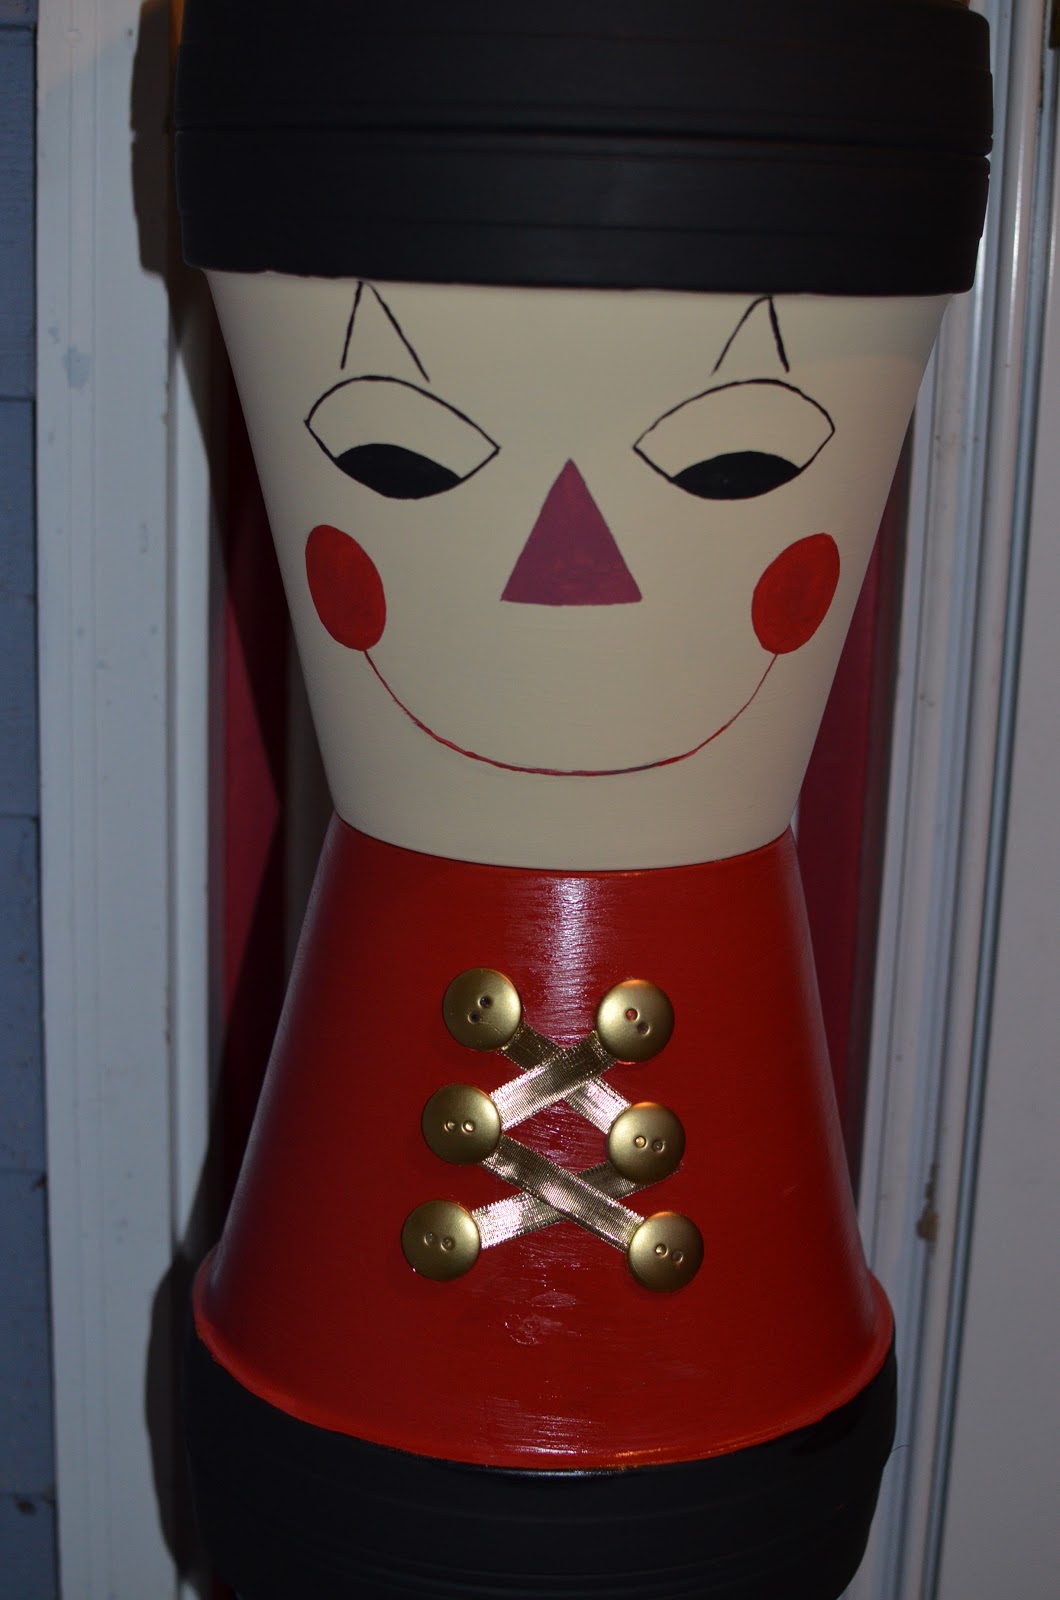
This past weekend was so beautiful that it inspried me to craft. I have always liked the look of clay pot soldiers, and after seeing
this blog post I just HAD to make my own! I have yet to add the belt and the bottom, but I was so proud of my quick work that I just had to put them out now.
Here is what I used to make two soldiers:
Ten S10 clay pots from Michaels
Paints
Gold ribbon
Epoxy (for final assemby)
I used my countertop to do most of my painting - just put some
Glad press and seal on my counter to protect it! BTW...LOVE this stuff...I use it all the time in crafting...makes a great paint tray liner too!!
OK, back to the soldiers!
I started by painting all my pots. I'm not a big fan of primer so I did not prime them first which then took me more than one layer of color. But really, it dried so quick that it was no big deal. My paints were not glossy, but I wanted a shiny red coat so I bought some
Martha Stewart gloss which worked well. It went on super thick and clumpy so I was worried, but I got the shiny effect I wanted! Woo hoo!
Now I was ready for the coat. I could not find flat gold buttons that I could afford, so I spray painted some black and white flat buttons gold - whatever works right! Then it was on to my face.
I knew I needed both faces to match, so I freehanded the eyes, nose and mouth on an old cereal box and cut them out as templates. Worked perfect!
Once the face was done, I glued some ribbon for the hats (I am casually skipping over that part because it doesn't look so good. Haha. Note to self...next time use
rick-rack instead of ribbon!).
Then I assembled all my pots for the final look!
Ta da!! Don't they look GRAND!!??
No, the angle of the photograph is not an illusion...I took these photos backing up and leaning around my landscaping to get both soldiers in, yet not get the blue pots in front of the soldiers in the picture!!
I'll do better next time ;-)!!