Showing posts with label candle. Show all posts

Sunday, April 29, 2012

Craft. My Candelier!

We recently purchased a new chandelier for our dining room.
The question was, what do we do with our old one? 
That's easy, make it a Candelier!

You will need:
any old chandelier
glass votive holders
E6000

First things first...remove the guts of your chandelier - all the wiring.   Next, using your E6000 (have I mentioned before how much I LOVE this stuff??!!) glue the glass votive holders in the spot where the light bulbs used to sit - I picked mine up from Hobby Lobby but I found these online.
Then....voila!  You have a new "Candelier"!! 
Apologies for the blurry photo...the shutter was wide open and the wind was blowing!!
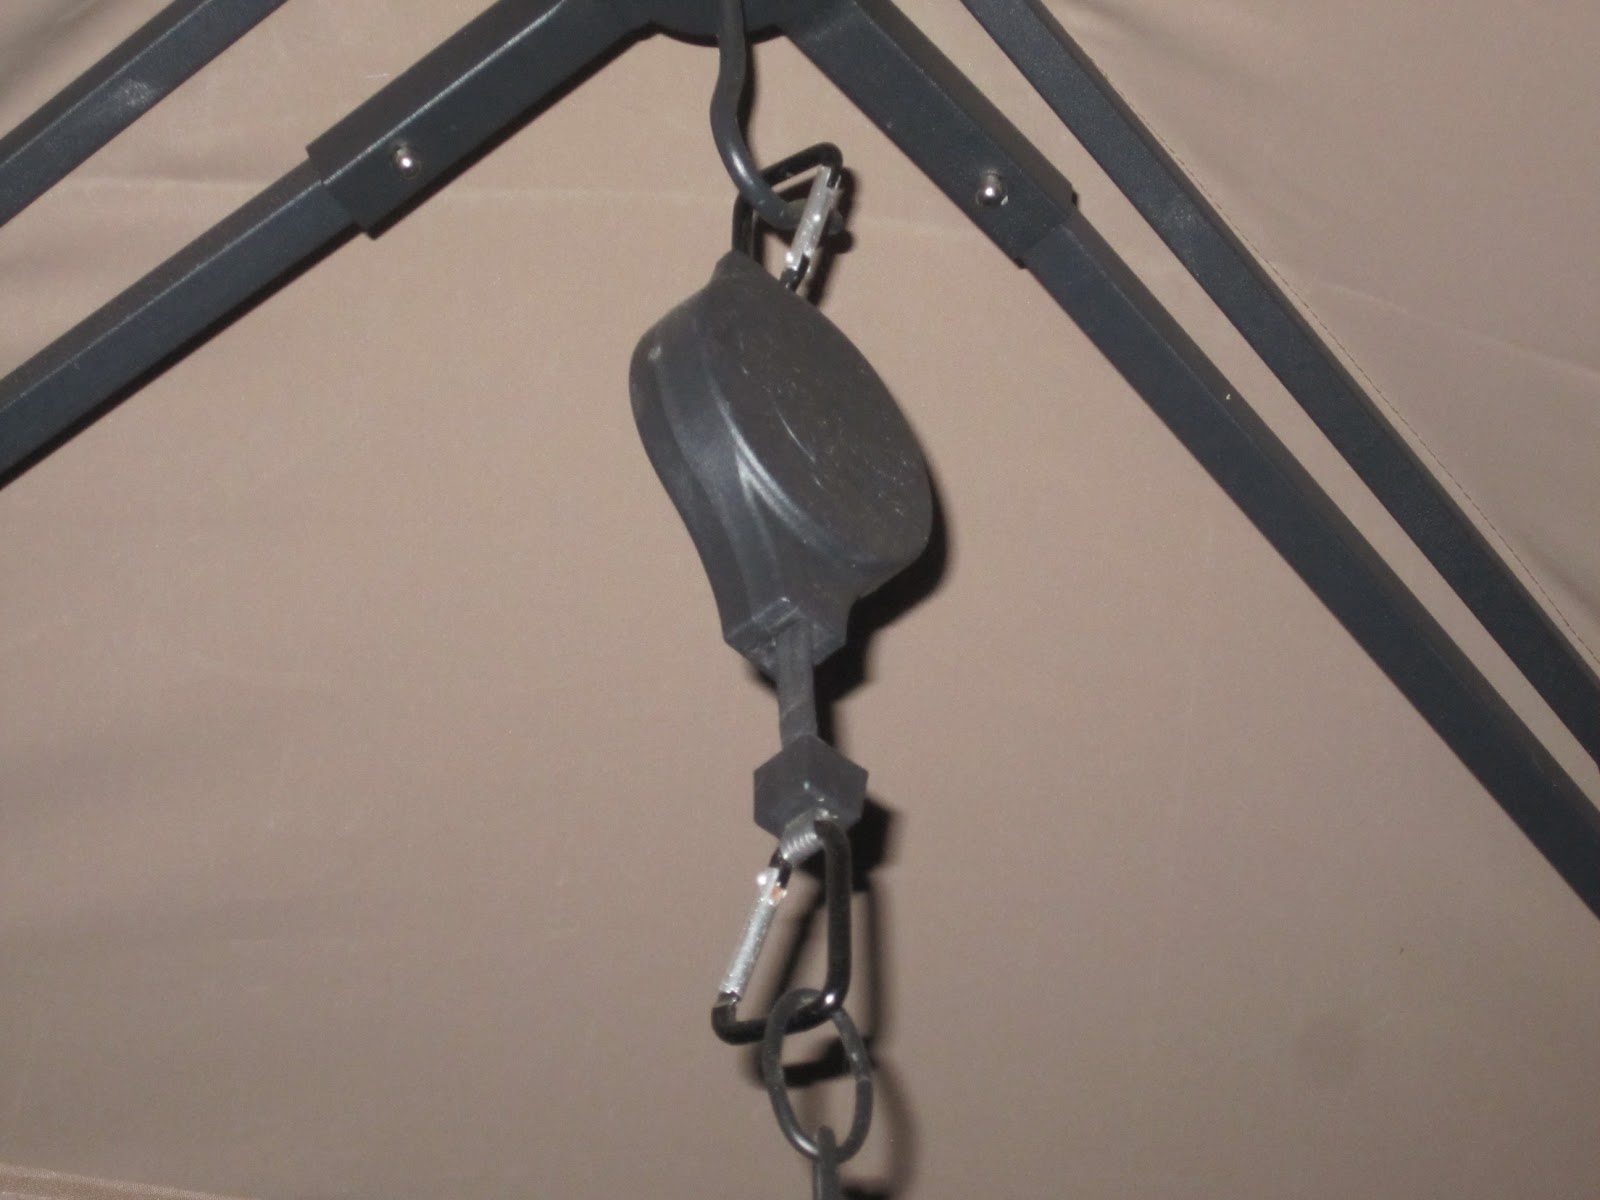
And I have to tell you how much I love these pulley's
They are key to getting my candles lit in my candelier!!
Thanks for looking!!

Linking up to
Pin It!

Wednesday, April 25, 2012

Craft. $4 DIY Hurricane Candles.

I've seen many versions of this, but I am partial to this one - hee hee.  This is by far the easiest craft I've whipped up - and it was only $4 at Dollar Tree.  LOVE that!! 
All you need is:
Large cylinder vase
Small cylinder vase (to fit inside)
Taper candle holder
Small rocks
E6000
small votive (not pictured).
Take your E6000 and put a thick line around the top of your candle holder.  Then put the large cylinder vase on top.  While this dried I put my kitchen crock on top - you need good pressure.
Once dry, hold the smaller cylinder vase inside and start filing with the small rocks.  In hindsight, I probably would have put some saran wrap over the top of the smaller vase so the rocks wouldn't end up in there!  They were a real pain to get out! 
Once they are all in, pop in your candle and light her up! 
It's beautiful when all the light comes peeking through the rocks.  What's nice is that when the votive burns down, you can follow these instructions to remove the wax and start all over again!! 
Enjoy!!

Linking up to:
Pin It!