Showing posts with label craft. Show all posts

Sunday, October 21, 2012

Pinterest.  I love it. 
I have found so many inspirations but I don't have enough time in the day! 
Like this.  And this.  And let's not forget this
Of course, you have to get busy making and not pinning all day!  So I did.

 
Found this on Pinterest and knew I had to make it. 
You will need a canvas (mine was 14 x 11), paints, and I used my Silhouette for the tree stencil, but you could just as easily free hand.
 
First, I cut out my tree in white vinyl with my Silhouette.
Using the negative image I attached to my canvas and 
sponge painted the words and tree unto my canvas. 
Then when I removed the vinyl I had this fabulous tree ready for leaves.
My two boys, my husband and I each picked our color and starting adding leaves
 to the tree with our thumbs and fingers. 
Love the way it turned out!!  And a super easy project!!
 
 
Pin It!

Friday, October 5, 2012

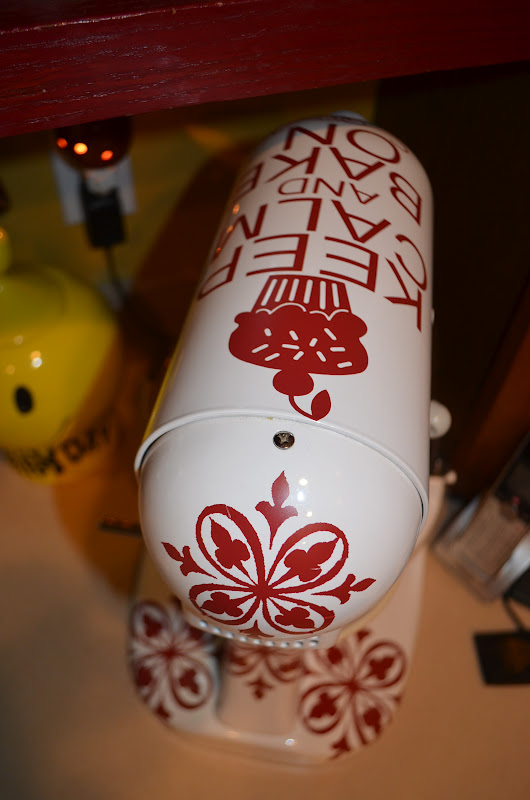
Craft. Silhouette Cameo Kitchen Aid makeover!

I am in love.  There is no other word to describe it.  I just received my Silhouette Cameo this weekend.  UGH!!  This machine is T H E  B O M B!  I have soooooo much to discover, but the minute I broke it out of the box I just knew I had to makeover my kichen aid mixer!  Yea!!

This little project took me all of about 45 minutes (because I'm a newbie) -
and I am loving the results! 
I'll share my to-do's below.

Ok, for the wording on the top I just loved what Create.Craft.Love did so I had to recreate!  I found my London Tube font at Fontspace, and used the same cupcake from the Silhouette online store found here

Some people may just want to stop after that.  Not me.  I wanted to fancy it up after that, so I found TypeBackgrounds font, which has some pretty neat scrolls.  I printed 3 of those in the same size (4.82 W x 6.070 H), then another that was 2.795 W x 3.525 H (for the back round area), and applied randomly to my mixer.


I LOVE the way it turned out!  Happy Silhouette-ing! 
Pin It!

Sunday, August 5, 2012

Craft. Flubber.

Ever heard of this stuff?  It's pretty cool - like slime really. 
My boys LOVED making it and playing with it - great project for those TOO HOT days.
First you need the following, which you can pick up pretty cheap now that school supplies are out:

4 oz Elmers glue 4 oz
Borax (smallest container you can find - mine was HUGE)
warm water
few drops of food coloring

First you take 1/2 cup of warm water and mix with 1tsp of Borox until the Borax is dissolved.
Once that's done, put aside.  Now take another bowl and pour the entire Elmer's glue bottle in, along with 1C warm water, and some food coloring.  Mix this together.
 
Then you mix the two bowls together.  We started by using the whisk, but that was hopeless - its gets thick quick!!  So I told the boys to use their hands!


The kids loved this - can you tell?

We kept this is a ziploc bag and it lasted awhile.
Have a good flubber time!
 Linking up to...
Petite Hermine Linky Party
I [heart] Naptime Linky Party


Pin It!

Sunday, May 13, 2012

Craft. Vintage Glass Recycle by Mom. Happy Mother's Day.

My Mom....what can I say...she's beautiful AND crafty!!
She made these beautiful Art Glass Garden decorations for family this Christmas. 
I wonder where my need for crafting comes from?  HA!
She scoured Goodwill and garage sales for old or interesting glass, used her trusty E6000 (that stuff is amazing) and start assembling.  She said the hardest part was finding the right glass for the bottom - that's what is going to go on the pole in the ground.  She ended up using vases!
But of course, she added a special touch to our gifts - the teardrops at the top of our gifts were from a chandelier in a house that we grew up in.  Gotta love those special touches!
My Art Glass sit proudly in my garden.  Thanks Mom!!  Love you tons XOXO.
Happy Mother's Day to all you Mother's out there!

Linking up to

Pin It!

Sunday, April 29, 2012

Craft. My Candelier!

We recently purchased a new chandelier for our dining room.
The question was, what do we do with our old one? 
That's easy, make it a Candelier!

You will need:
any old chandelier
glass votive holders
E6000

First things first...remove the guts of your chandelier - all the wiring.   Next, using your E6000 (have I mentioned before how much I LOVE this stuff??!!) glue the glass votive holders in the spot where the light bulbs used to sit - I picked mine up from Hobby Lobby but I found these online.
Then....voila!  You have a new "Candelier"!! 
Apologies for the blurry photo...the shutter was wide open and the wind was blowing!!
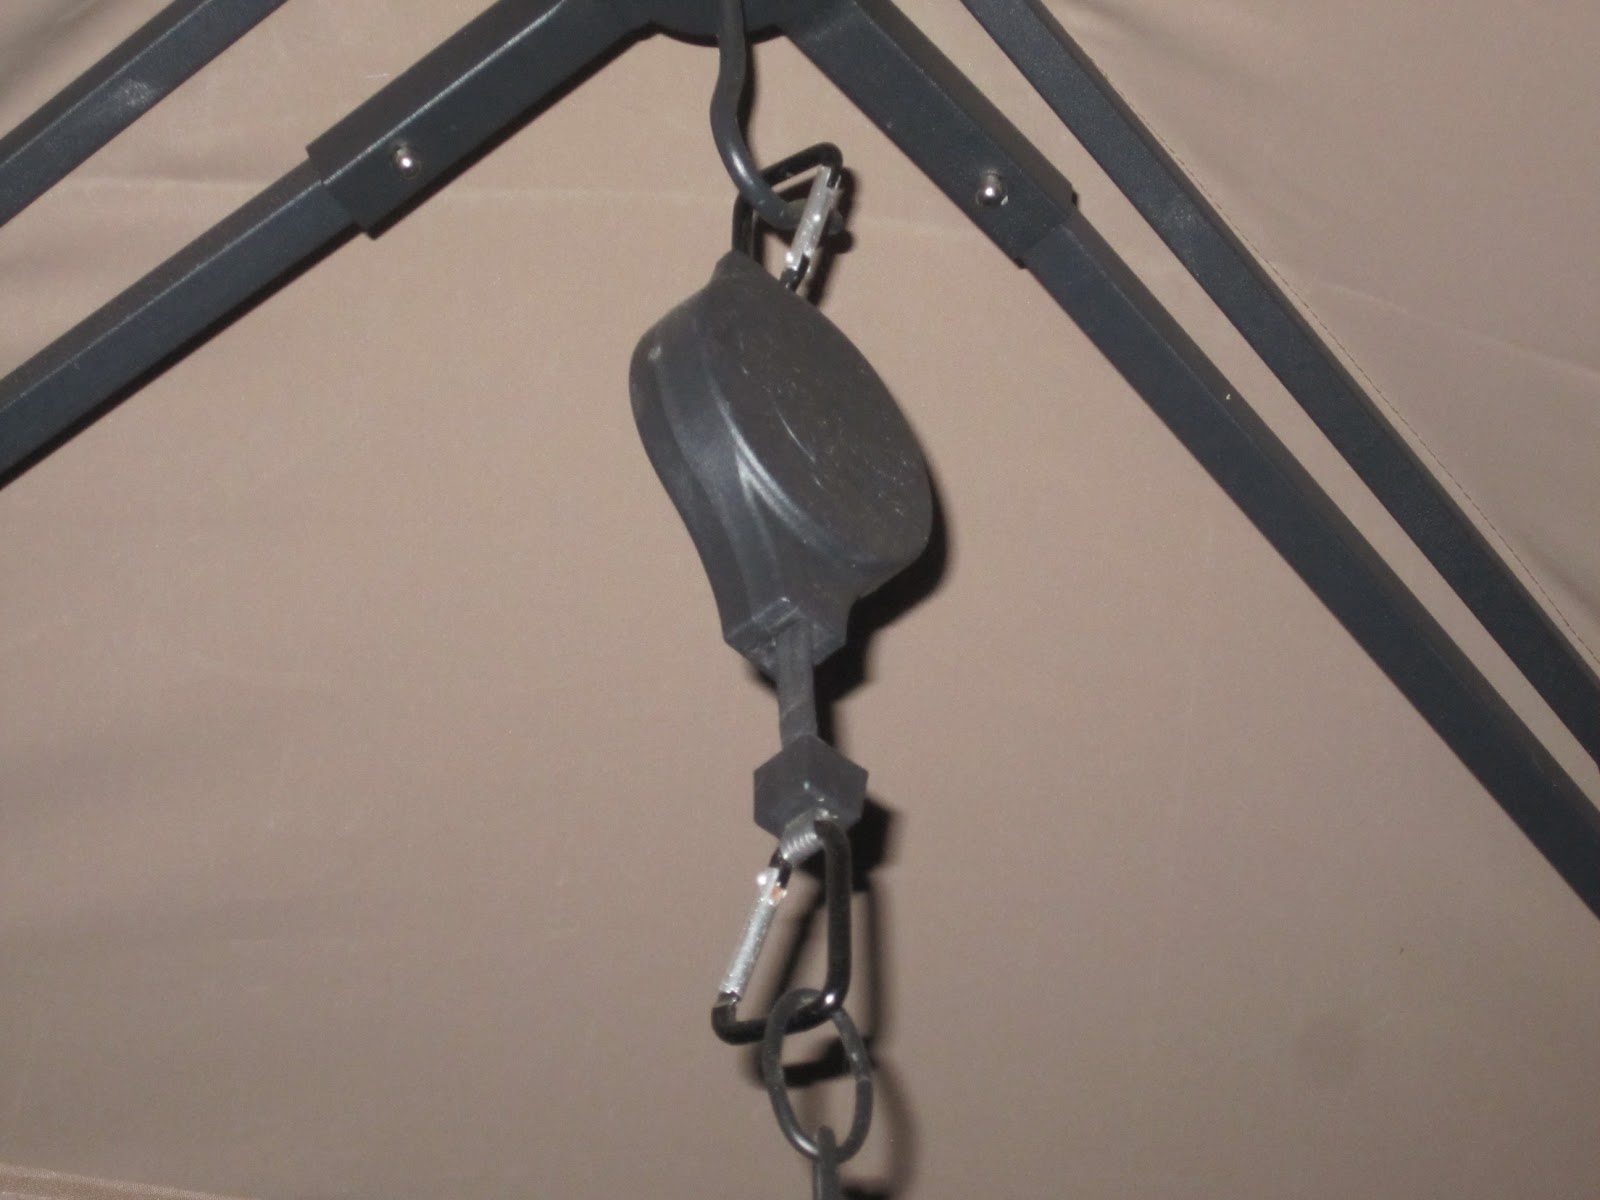
And I have to tell you how much I love these pulley's
They are key to getting my candles lit in my candelier!!

Thanks for looking!!

Linking up to
Pin It!

Wednesday, April 25, 2012

Craft. $4 DIY Hurricane Candles.

I've seen many versions of this, but I am partial to this one - hee hee.  This is by far the easiest craft I've whipped up - and it was only $4 at Dollar Tree.  LOVE that!! 
All you need is:
Large cylinder vase
Small cylinder vase (to fit inside)
Taper candle holder
Small rocks
E6000
small votive (not pictured).
Take your E6000 and put a thick line around the top of your candle holder.  Then put the large cylinder vase on top.  While this dried I put my kitchen crock on top - you need good pressure.
Once dry, hold the smaller cylinder vase inside and start filing with the small rocks.  In hindsight, I probably would have put some saran wrap over the top of the smaller vase so the rocks wouldn't end up in there!  They were a real pain to get out! 
Once they are all in, pop in your candle and light her up! 
It's beautiful when all the light comes peeking through the rocks.  What's nice is that when the votive burns down, you can follow these instructions to remove the wax and start all over again!! 
Enjoy!!

Linking up to:
Pin It!

Tuesday, April 10, 2012

Craft. Gumball Machine!

How cute is this??!!  I saw this on my new *favorite* website AndersRuff and just HAD to make one for my own!!


Here's what you need - I picked it all up from Michaels:

1) 10" clay pot
2) matching clay saucer
3) wooden "doll head"
4) spray paint
5) large glass fish bowl
6) hot glue

It was a beautiful day outside when I decided to do this - lucky me!  I was so excited to start I almost forgot to take pictures!  Hee hee.  I painted at least 2 coats on the clay and the doll head.  Once dry, I glued the doll head to the saucer and assembled - easy peasy!! 
Because I did not glue the fish bowl to the pot, I added some velcro for stability (I love that stuff!).  I also did not glue the top because I want to be able to add candy ;-)
Now all I need are the gumballs, jawbreakers, smarties - you name it, but it all sounds yummy.

Pin It!

Saturday, April 7, 2012

Food Craft. Edible Egg Nests.

My favorite weather is bird-chirping weather. ~Terri Guillemets
I had forgotten this old favorite until I found myself in the Asian Food isle of my grocery story and happen to notice that almost ALL of the chow mein noodles were gone!  It then dawned on me why...this Easter classic treat :-)
There are recipes out there for these, but I just threw my own together using this:

1) one bag of large marshmallows (the pic shows mini - either would work)
2) one bag of chow mein noodles
3) two tablespoons of butter
4) something for your "eggs" (not pictured!  I used Cadbury eggs)

In a big pot, I melted the butter under low heat and threw in the bag of marshmallows, stirring until they melted completely.  Then I threw in the bag of chow mein noodles, stirring until completely covered with oooey gooey marshmallow...mmmmm. 

I scooped some mixture onto a silpat covered cookie sheet and some into a sprayed cupcake pan - when I do this again I will only use the cupcake pan.  It gives a more uniform look, which I like better than the free-form that the cookie sheet produced. 
Once they cool a bit, butter up your fingers and press a little "well" into the nest to hold your eggs.  Then put your eggs in there and enjoy! 
Pin It!

Wednesday, April 4, 2012

Craft. Easter Bunny door hanger!

This is such a cute idea, but unfortunately I did not think of it - that credit goes to Hoosier Homemade for this awesome idea!!

You will need the following things:

1) Foam pipe covers - I chose 1/2"
2) 14 guage wire
3) pink cardstock
4) "Fun Fur" yarn 
5) duct tape
6) white spray paint

There were three pipe covers in the package I purchased.  I took one cover as it and taped into a circle with the duct tape.  For the smaller circle, I eyeballed it but I probably cut about 12" off of the end of the other one and made that into a circle also.  They didn't look exactly like a circle when I first taped it together so with a bit of working with it, it ended up looking pretty good.
At this point, I taped the circles together and spray painted it white.  This gives a nice background to the yarn in case any were to peek through. 
Then I shaped the ears with the wire - again, just eyeballing it.
Once the ears were formed, I spray painted the pink one white, and began wrapping the yard around them, starting at the bottom.  Once this was done, I hot glued the pink cardstock to the back of the ears, then it was on to the body!!  I wrapped the yarn around the body until I couldn't see any white.  I used almost all of both yarns.  Once they were all wrapped, it was assembly time!
Poke the ears in the top, wrap with more yarn, hot glue if needed
 and hang on your front door for all to enjoy!
Hoppy Easter!  Hee hee.

Pin It!