Sunday, August 5, 2012

Craft. Flubber.

Ever heard of this stuff?  It's pretty cool - like slime really. 
My boys LOVED making it and playing with it - great project for those TOO HOT days.
First you need the following, which you can pick up pretty cheap now that school supplies are out:

4 oz Elmers glue 4 oz
Borax (smallest container you can find - mine was HUGE)
warm water
few drops of food coloring

First you take 1/2 cup of warm water and mix with 1tsp of Borox until the Borax is dissolved.
Once that's done, put aside.  Now take another bowl and pour the entire Elmer's glue bottle in, along with 1C warm water, and some food coloring.  Mix this together.
 
Then you mix the two bowls together.  We started by using the whisk, but that was hopeless - its gets thick quick!!  So I told the boys to use their hands!


The kids loved this - can you tell?

We kept this is a ziploc bag and it lasted awhile.
Have a good flubber time!
 Linking up to...
Petite Hermine Linky Party
I [heart] Naptime Linky Party


Pin It!

Wednesday, June 20, 2012

Birthdays. Bowling Birthday.

My baby boy is five....I can hardly believe where the time went. 
Seems like yesterday he looked like this....
and now this.
Yowza. 
So for Deklen's 5th birthday we decided on a Bowling party.  What an awesome adventure we had!  I discovered AndersRuff Retro Bowling printables and I must say that went over HUGE at the party!  I'll warn you ahead of time - there are LOTS of pictures in this post!

First the dessert table.
 I was really excited with the way it turned out!  Black plastic table cloth.  Black foamcore poster board with the 11x16 Happy Birthday Deklen sign double-sticky taped to it. 
The number 5's I printed from my Cricut onto sticker paper.  The polka dot balloons are from Target and they are attached with polka dot ribbon, and the 36" polka dot balloon is from a local party store, but you can buy them online (like from here).
The banner is from the printables package, printed on cardstock and strung together with red polka dot ribbon and double-sticky tape.
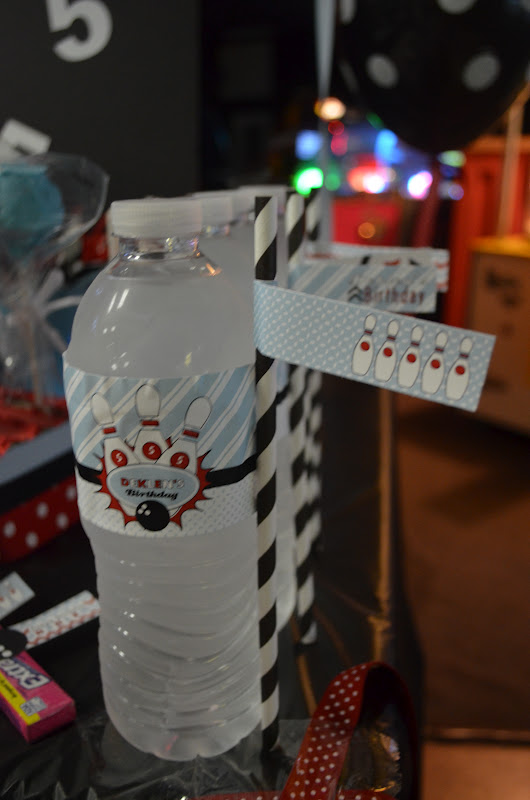
I purchased Costco water and replaced their label with my printed one.  Those blue buckets are from the $1 stop at Target, with a printable on the front.  The block you see behind the bucket - holding the bowling ball cake pops - that is a green floral foam block decorated with ribbon.  I purchased some caramel and cheese popcorn to put into the Popcorn boxes I purchased from HeyYoYo.  The plastic tubes are from Cafe Crop, my local scrapbook store.  I filled them with blue and red gummy bears from the Albanese Candy factory - yum!  The cake pops are supposed to look like bowling balls (ha ha) and I made those with my handy cake pop pan. 
TIP:  Coloring gel does not work with melted chocolate :-(


 On the tables, I put dollar store plastic table covers, Target dollar spot small blue buckets filled with black and red polka dot napkins wrapped around blue silverware, as well as Campfire marshmallow pops with blue chocolate and red sprinkles - all decorated with printables.
 My cake was inspired by this and was super easy! 
Two 9x13 pans and a glass bowl that I could bake in - voila!  A bowling cake!
 I made all the kids tye-die t-shirts......
 .....and used this iron-on to personalize the backs of the t-shirts!! 
They were a big hit!
We had a great turn out!!  Thanks to everyone for making Deklen's day special :-)
 Mami loves you honey.
Now I'm off to plan his brother's art birthday party!! 

Linking up to

Pin It!

Thursday, May 24, 2012

Birthdays. Lego Birthday Party.

A few years ago before I discovered blogging, Logan was REALLY into Lego's, so it only made sense to have a Lego themed birthday party!  I searched high and low for ideas and my party is a compilation of all the things I found. 

This was by no means a way-out-there party or anything, but my first attempt at an At Home Party and although it was no less than 94 degrees that day (with 200% humidity - I'm not kidding!!) I think it went over well!  I hope you find inspiration here!

First, I free handed the number 7 on a large cardboard box that I had broken down.  I then glued one-inch square tissue paper unto the number, using a pencil as my applicator.
Next was my homemade lego pinata. 
I took two cereal boxes, cut out a large rectangular hole in the front of both
 and glued them together (so that the candy will go into both boxes). 
Then I cut a hand-sized hole at the top (for filling the candy). 
At this time, I also added a handing apparatus - a thick plastic cord.
Then I paper machied the whole thing with newspaper and watered-down glue.
I took little candy cups from Michael's and painted them red then covered the whole thing with red crepe paper and glue the candy cups in place.  Voila - lego!  (Apologize again for no instructional photos - as I said, it was before I discovered blogging!) 
I had a "Guess the number of Lego's" in a jar with cards to complete. 
The winner kept the jar. 
That was sitting on a table of lego scenes that Logan had put together.
The snack table was just a few munchies.  I attempted the Lego pops mentioned here.  Mine turned out NOTHING like hers but the kids like them anyway ;-)  I stuck those in cups filled with Legos.

I setup "Construction" tables, where the guests could build. To have enough legos, I purchased a bulk of Legos from ebay for the party.

The eating area had various "homemade" legos on it for decor.  Capri sun boxes, shoes boxes, all shapes and sizes - wrapped with wrapping paper, and small milk jug caps spray painted and glued on.
The cake topper I made with one of Logan's lego gifts.  I found candy lego's at a local bulk store so I used those as decorations around the bottom. 
They were also added to small bags for the take-home treats.
I downloaded pictures of Lego men from lego.com and printed them on sticker and magnet paper, as well as printed coloring pages for all the kids to do before the party started.  
Everyone got to take a few home. 
I also made an iron-on transfer of the number 7 and created a t-shirt for Logan to wear on his big day.
I downloaded various lego men fonts and used them for the invite envelopes and made this sign for the house with one of the Lego fonts.
I used this photo as my invitation and mounted it to cardstock.

The giveaways were homemade lego keychains, a small lego set, lego candy, and a photo thank you card with a picture of life-size Buzz and Woody lego men.

I hope this gives you some ideas for your next Lego birthday party!!

Good Lego Birthday party sites:

Enjoy! 
p.s.  Bowling Party posting soon!!

Linking up to:
Pin It!

Sunday, May 13, 2012

Craft. Vintage Glass Recycle by Mom. Happy Mother's Day.

My Mom....what can I say...she's beautiful AND crafty!!
She made these beautiful Art Glass Garden decorations for family this Christmas. 
I wonder where my need for crafting comes from?  HA!
She scoured Goodwill and garage sales for old or interesting glass, used her trusty E6000 (that stuff is amazing) and start assembling.  She said the hardest part was finding the right glass for the bottom - that's what is going to go on the pole in the ground.  She ended up using vases!
But of course, she added a special touch to our gifts - the teardrops at the top of our gifts were from a chandelier in a house that we grew up in.  Gotta love those special touches!
My Art Glass sit proudly in my garden.  Thanks Mom!!  Love you tons XOXO.
Happy Mother's Day to all you Mother's out there!

Linking up to

Pin It!

Monday, May 7, 2012

Seen & Heard. Martha Stewart Lists. Cleaning, Organizing, etc.

Cleaning your house while your kids are still growing is like shoveling the walk before it stops snowing. ~Phyllis Diller, Phyllis Diller's Housekeeping Hints, 1966
That's how I've always approached cleaning with two small boys in the house.  Yes, this is clean.
However, there are the occasional days where the miraculous three happen: 
  1. I have time to clean
  2. I want to clean
  3. I have the energy to clean. 
Those are the days where I get on a roll and then there's no stopping me!  Granted, those days are FEW and FAR between, but they do exist - I promise!

There are some cleaning things that I do everyday no matter what, and those are based on the Martha Stewart "Six Things To Do Every Day " cleaning list that I found some time ago.  They are:
  1. Make the Bed.
  2. Manage Clutter.
  3. Sort the Mail.
  4. Clean as you Cook.
  5. Wipe up Spills while they're Fresh.
  6. Sweep the Kitchen Floor.
These lists are fabulous and a great place to start if you need some organization (like I do!).  There are weekly and monthly cleaning checklists, as well as seasonal cleaning checklists.

Martha has more lists that you may find helpful.  She has Celebrations checklists (which cover parties) as well as Holiday checklists (which are for Holiday entertaining).  There are also Moving checklists and another one of my favorite the Home keeping checklists, which show how to organize a linen closet, and Spring Home Maintenance.  I also like her Stocking Up checklists for cleaning, home essentials and safety.

You can find all those lists and download them in pdf's here.  Check them out and tell me what you think!!

p.s.  I am working on the posts for my son's Bowling Party!  It was a hit!  Stay tuned...
Linking up to...
Debbie Doo's Newbie Party
It's Overflowing linky party
Tip Junkie handmade projects linky party
Printabelle Wonderful Wednesday linky party
Pin It!

Sunday, April 29, 2012

Craft. My Candelier!

We recently purchased a new chandelier for our dining room.
The question was, what do we do with our old one? 
That's easy, make it a Candelier!

You will need:
any old chandelier
glass votive holders
E6000

First things first...remove the guts of your chandelier - all the wiring.   Next, using your E6000 (have I mentioned before how much I LOVE this stuff??!!) glue the glass votive holders in the spot where the light bulbs used to sit - I picked mine up from Hobby Lobby but I found these online.
Then....voila!  You have a new "Candelier"!! 
Apologies for the blurry photo...the shutter was wide open and the wind was blowing!!
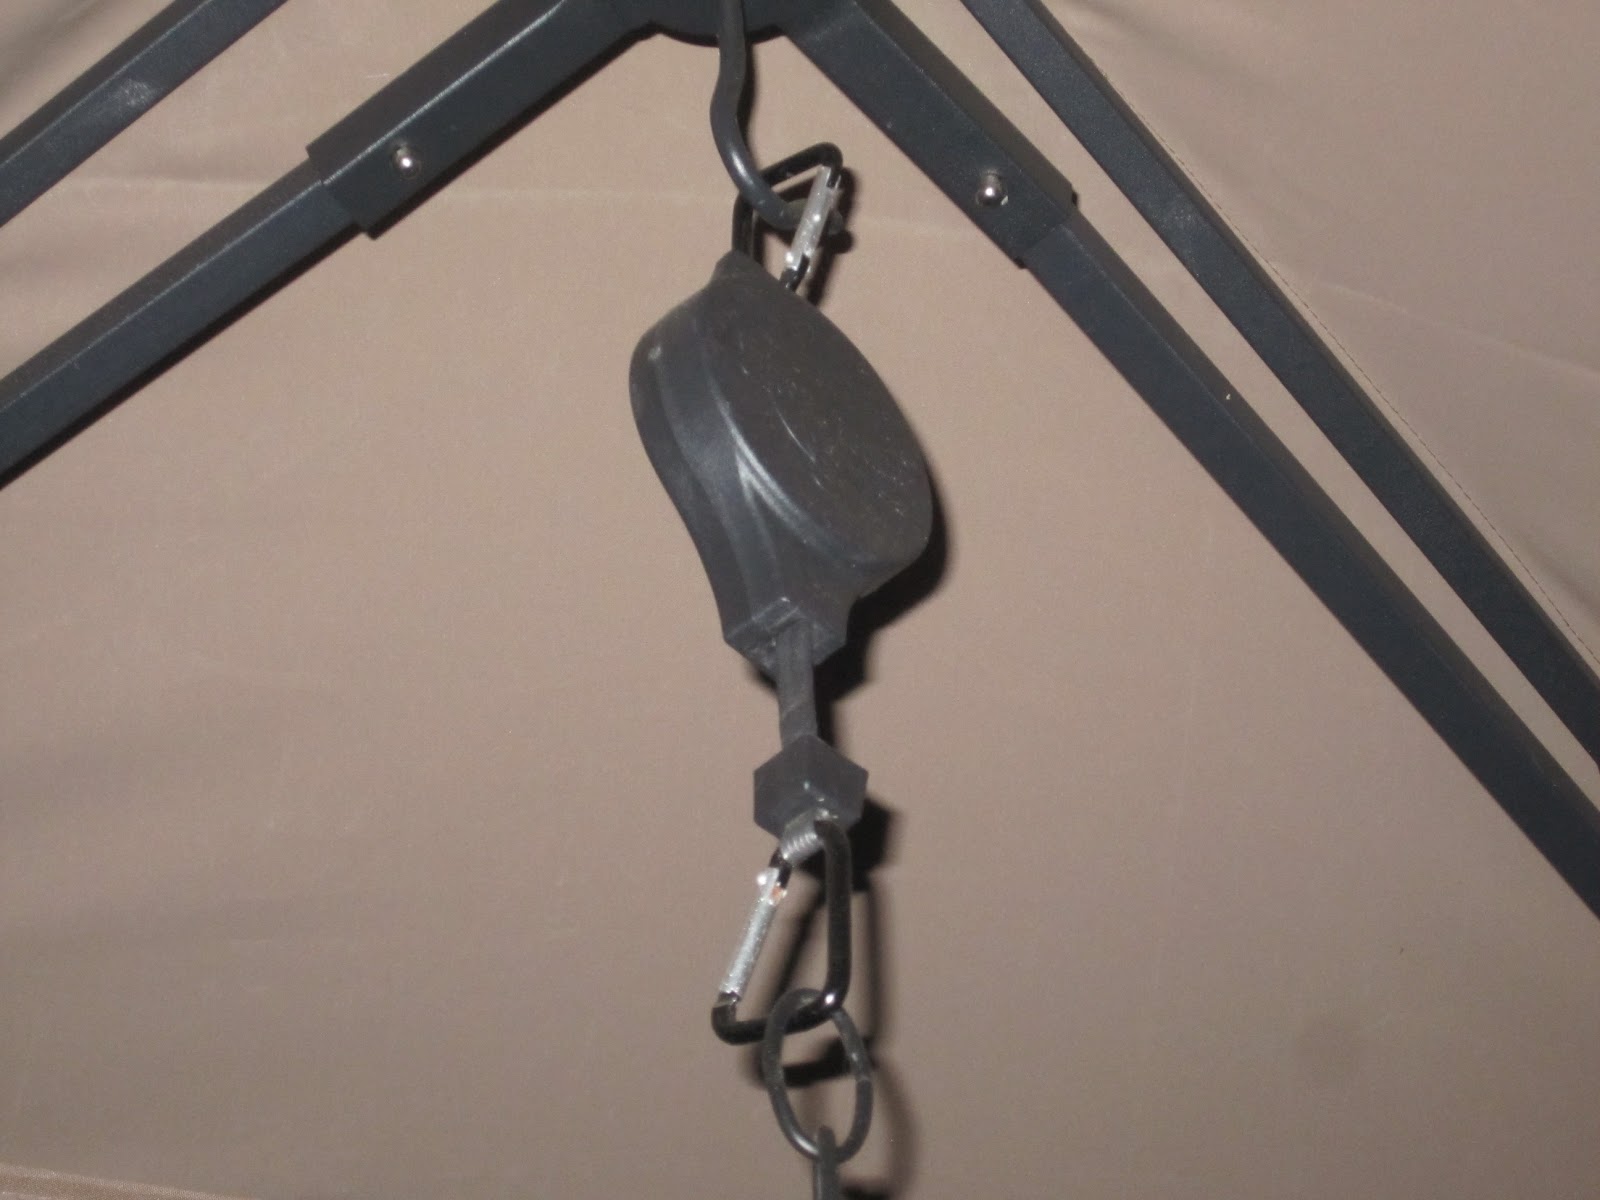
And I have to tell you how much I love these pulley's! 
They are key to getting my candles lit in my candelier!!

Thanks for looking!!

Linking up to
Pin It!

Wednesday, April 25, 2012

Craft. $4 DIY Hurricane Candles.

I've seen many versions of this, but I am partial to this one - hee hee.  This is by far the easiest craft I've whipped up - and it was only $4 at Dollar Tree.  LOVE that!! 
All you need is:
Large cylinder vase
Small cylinder vase (to fit inside)
Taper candle holder
Small rocks
E6000
small votive (not pictured).
Take your E6000 and put a thick line around the top of your candle holder.  Then put the large cylinder vase on top.  While this dried I put my kitchen crock on top - you need good pressure.
Once dry, hold the smaller cylinder vase inside and start filing with the small rocks.  In hindsight, I probably would have put some saran wrap over the top of the smaller vase so the rocks wouldn't end up in there!  They were a real pain to get out! 
Once they are all in, pop in your candle and light her up! 
It's beautiful when all the light comes peeking through the rocks.  What's nice is that when the votive burns down, you can follow these instructions to remove the wax and start all over again!! 
Enjoy!!

Linking up to:
Pin It!